


Immunofluorescence (IF) Detailed Protocol (For Reference Only)
The core principle of immunofluorescence (IF) relies on the specific binding between a primary antibody and the target antigen in the sample, followed by the recognition of the primary antibody by a fluorochrome-conjugated secondary antibody. Finally, the localization and expression of the target antigen are visualized and analyzed using a fluorescence microscope. The detailed procedures are as follows:
I. Pre-Experimental Preparation
Reagent Preparation:
Basic Reagents: PBS buffer (pH 7.4), 4% paraformaldehyde (fixative), 0.1%-0.3% Triton X-100 (permeabilization solution, prepared in PBS), blocking solution (5% fetal bovine serum or 1% BSA, prepared in PBS), anti-fluorescence quenching mounting medium.
Core Reagents: Specific primary antibody (targeting the antigen of interest), fluorochrome-conjugated secondary antibody (species-matched with the primary antibody, e.g., Alexa Fluor series), DAPI (for nuclear staining, optional).
Equipment Preparation: Fluorescence microscope, glass slides, coverslips, humid chamber (to prevent sample drying during incubation), pipettes and tips, staining jars.
Sample Pretreatment (Taking Cell Crawling Slides as an Example; Similar Protocol for Tissue Sections):
Inoculate cells into culture dishes with pre-plated coverslips and incubate until reaching the appropriate confluency (usually 60%-80%).
Aspirate the culture medium, gently wash the cells with pre-cooled PBS twice for 3 minutes each to remove residual medium.
II. Fixation and Permeabilization
Fixation: Add 4% paraformaldehyde to the culture dish and incubate at room temperature for 15-20 minutes (avoid over-fixation to prevent masking of antigen epitopes).
Washing: Aspirate the fixative, wash the sample with PBS three times for 5 minutes each to thoroughly remove residual fixative.
Permeabilization: If the target antigen is intracellular, add PBS containing 0.1%-0.3% Triton X-100 and incubate at room temperature for 10-15 minutes to perforate the cell membrane, facilitating antibody penetration; skip this step for cell surface antigens.
Re-Washing: Wash the sample with PBS three times for 5 minutes each to remove Triton X-100.
III. Blocking (Blocking Non-Specific Binding)
Take out the coverslips, place them on glass slides in a humid chamber with the cell-side facing up, and add an adequate amount of blocking solution (just enough to cover the entire cell surface).
Block at room temperature for 30-60 minutes (or overnight at 4℃) to block non-specific binding between proteins in the sample and antibodies, reducing background fluorescence.
IV. Antibody Incubation (Specific Binding to Target Antigen)
Primary Antibody Incubation:
Aspirate the blocking solution (no washing required), dilute the specific primary antibody with blocking solution according to the manufacturer’s instructions (e.g., 1:100-1:1000).
Add the diluted primary antibody to the sample, ensuring complete coverage of the cells, and incubate overnight at 4℃ in a humid chamber (or 1-2 hours at room temperature; adjust incubation time based on antibody characteristics).
After incubation, wash the sample with PBS three times for 5 minutes each to remove unbound free primary antibody.
Secondary Antibody Incubation:
Dilute the fluorochrome-conjugated secondary antibody with blocking solution according to the manufacturer’s instructions (e.g., 1:200-1:2000). Perform all operations in the dark to prevent fluorescence quenching.
Add the secondary antibody and incubate at room temperature in a humid chamber for 30-60 minutes, protected from light.
After incubation, wash the sample with PBS three times for 5 minutes each. For nuclear staining, add DAPI to the last wash and incubate at room temperature for 5 minutes in the dark, then wash once more with PBS.
V. Mounting and Observation
Mounting: Aspirate residual PBS from the sample surface, place 1-2 drops of anti-fluorescence quenching mounting medium in the center of a glass slide, and gently place the coverslip on the mounting medium with the cell-side facing down (avoid air bubbles; gently press the coverslip to expel bubbles if present). Seal the edges with nail polish (optional, to prevent drying of the mounting medium).
Observation and Imaging:
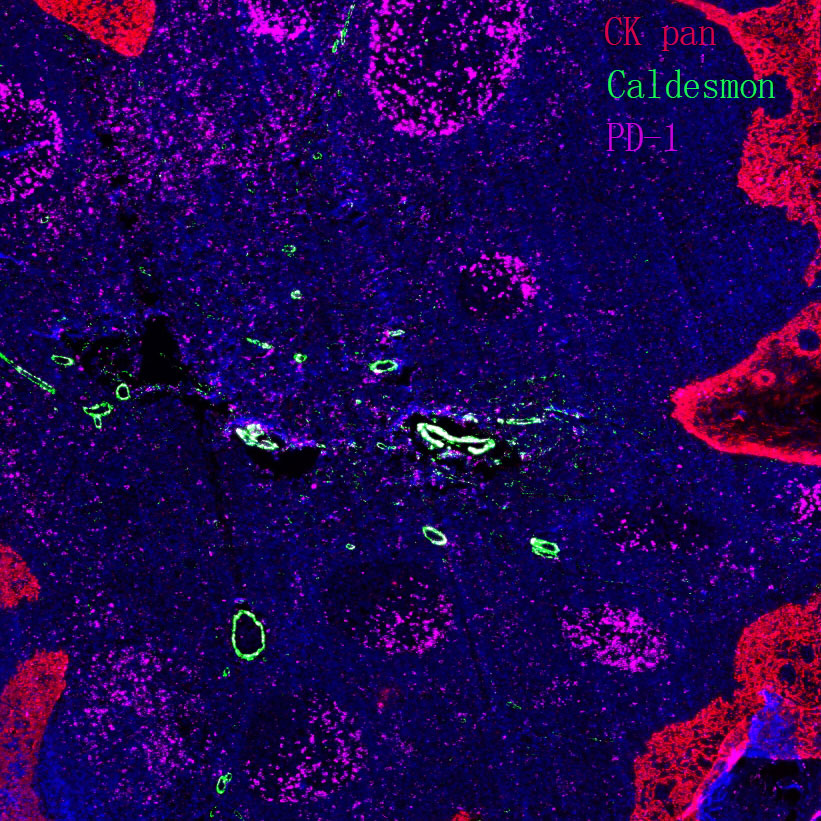
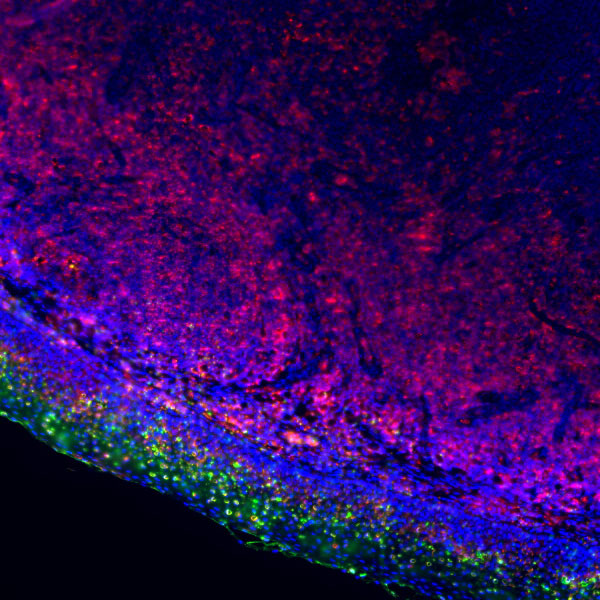
Observe immediately using a fluorescence microscope. Select the corresponding excitation channels based on the fluorescence wavelengths of the secondary antibody and DAPI (e.g., FITC for green channel, Cy3 for red channel, DAPI for blue channel).
Adjust the focal length and exposure time to capture images, avoiding over-exposure to prevent saturation of fluorescence signals.
Related Resource Links


Related Promotional Journal Downloads


Explore Our Recommended Popular Products
More products

30,000+ high- quality products available online
Primary Antibodies, Secondary Antibodies, mIHC Kits, ELISA Kits, Proteins, Molecular Biology Products,Cell Lines,Reagents ...
Contact Us
-

400-801-6722
-

support@lamarck.cn
-


Order
-

Message